Tiling your bathroom is a rewarding DIY project that can elevate the aesthetics of your space. With the right tools, materials, and a bit of guidance, you can transform your bathroom into a stylish haven. In this step-by-step guide, we’ll walk you through the process of mastering the art of DIY tiling for a successful and visually appealing bathroom renovation.
DIY Tiling in Your Bathroom
1. Gather Your Materials
Before embarking on your tiling journey, ensure you have all the necessary materials. This includes tiles, adhesives, spacers, grout, a trowel, a tile cutter, a level, and a sponge. Opt for high-quality materials to ensure durability and a professional finish.
2. Prepare the Surface
A crucial first step is preparing the surface. Ensure the walls or floors are clean, dry, and free from any debris. If there are existing tiles, remove them carefully to create a smooth and even base for your new tiles.
3. Plan Your Layout
Begin by planning the layout of your tiles. Use a pencil to mark the centre of the space and dry-lay your tiles from there. This helps you visualize the final look and make adjustments before applying adhesive.
4. Mix and Apply Adhesive
Follow the manufacturer’s instructions to mix the adhesive. Using a notched trowel, apply the adhesive to a small section of the surface. Work in manageable areas to ensure the adhesive remains workable.
5. Place the Tiles
Carefully place each tile on the adhesive, using spacers to maintain even gaps between tiles. Press down gently to secure them in place. Check the alignment with a level to ensure a straight and uniform surface.
6. Cut Tiles as Needed:
When reaching edges or corners, you’ll likely need to cut tiles to fit. A tile cutter or wet saw is essential for precise cuts. Measure accurately and make clean, controlled cuts to maintain a professional appearance.
7. Allow Adhesive to Set
After placing the tiles, allow the adhesive to set as per the recommended drying time. This step is crucial for the tiles to bond securely to the surface.
8. Apply Grout
Use a rubber float to spread grout evenly over the tiles, ensuring it fills the spaces between them. Wipe away excess grout with a damp sponge before it fully sets.
9. Clean Tiles Thoroughly
After the grout has dried, clean the tiles thoroughly to remove any remaining residue. A clean surface ensures the tiles shine and the grout lines are crisp.
10. Seal the Grout
For added durability and protection against stains, consider sealing the grout. This is a simple yet effective step to prolong the life of your tiled surface.
11. Finishing Touches
Inspect the entire tiled surface for any imperfections or uneven areas. Make any necessary touch-ups, and once satisfied, enjoy the finished result of your DIY tiling endeavour.
Tips for Success:
- Start Small: If you’re new to tiling, consider starting with a smaller area to build confidence before tackling larger spaces.
- Choose the Right Tiles: Select tiles that suit your style and are appropriate for the bathroom environment. Porcelain and ceramic tiles are popular choices for their durability.
- Maintain Consistent Spacing: Use spacers to ensure consistent spacing between tiles. This contributes to a professional finish.
- Work Methodically: Systematically approach the tiling process, working from the centre outward. This ensures a balanced and visually appealing layout.
2. Attention to Tile Alignment
Ensure a seamless look by paying close attention to the alignment of your tiles. A slight misalignment can be visually distracting, so take the time to adjust as needed during the placement process.
13. Use Tile Spacers Effectively
Optimal use of tile spacers is key to achieving a professional finish. These small tools help maintain uniform gaps between tiles, promoting an even grout line and a polished appearance.
14. Addressing Uneven Surfaces
If your bathroom walls or floors have imperfections, such as uneven spots, use a levelling compound to create a smooth surface before applying tiles. This extra step contributes to a flawless end result.
15. Invest in Quality Tools
While DIY projects often involve cost-saving measures, investing in quality tile-cutting tools and a durable tile adhesive pays off in the long run. High-quality tools contribute to smoother cuts and better adhesion.
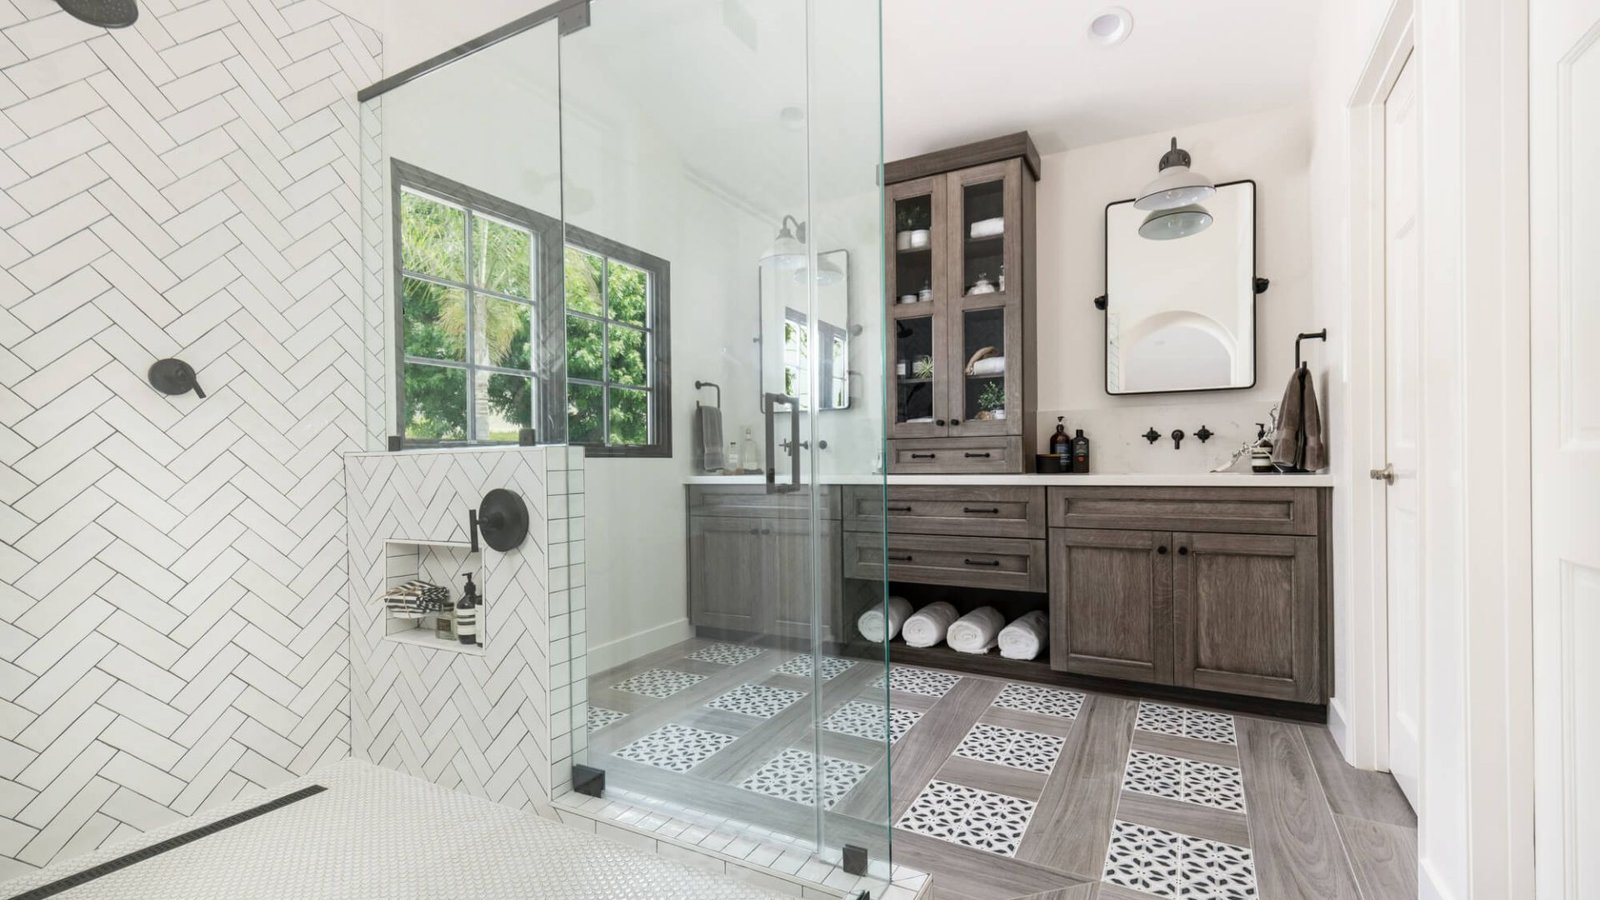
16. Consider Tile Patterns
Experiment with different tile patterns to add visual interest to your bathroom. Herringbone, subway, or diagonal patterns can elevate the design, turning your tiled space into a unique and stylish haven.
17. Grout Color Selection
The colour of your grout can significantly impact the overall look of your tiled surface. Choose a grout colour that complements your tiles, whether it’s a subtle match or a bold contrast to make a statement.
18. Properly Mix Grout
Follow the grout manufacturer’s instructions for mixing, ensuring a consistent and smooth texture. Properly mixed grout is easier to apply and results in a more professional-looking finish.
19. Regular Maintenance Tips
Keep your tiled bathroom looking pristine with regular maintenance. Use a mild detergent and a soft brush to clean tiles, and avoid abrasive cleaners that could damage the grout.
Conclusion
Mastering the art of DIY tiling in your bathroom is an achievable and gratifying project. With careful planning, precise execution, and attention to detail, you can create a tiled space that reflects your style and adds value to your home. Embrace the creative process, and let your bathroom renovation journey begin!
You may find this information useful:
Simple Faucet and Showerhead Replacements
Exploring the Latest in Smart Bathroom Technology